Black and White Photography: Complete Beginner's Guide
Master black and white photography with our complete tutorial guide. Learn techniques, composition tips, and editing secrets for stunning monochrome images.
Black and White Photography: Complete Guide
Black and white photography remains one of the most powerful and timeless forms of visual expression. Despite living in a world saturated with color, monochrome images continue to captivate viewers with their ability to strip away distractions and focus on the raw emotion, composition, and story within a frame.
Whether you’re a beginner picking up your first camera or an experienced photographer looking to master the art of monochrome, this comprehensive guide will walk you through everything you need to know about creating stunning black and white photographs.
Understanding the Fundamentals of Black and White Photography
Why Choose Black and White?
Black and white photography isn’t simply about removing color from your images. It’s about creating a different visual language that emphasizes:
- Contrast and drama: Without color to rely on, tonal contrasts become the primary way to create visual impact
- Texture and patterns: Monochrome images highlight surface details and geometric elements
- Emotion and mood: The absence of color can evoke powerful emotional responses
- Timeless quality: Black and white images often feel classic and enduring
Key Elements That Make Black and White Images Work
Before diving into technical aspects, it’s crucial to understand what makes a black and white photograph successful:
- Strong contrast: The interplay between light and dark areas creates visual interest
- Compelling composition: Leading lines, rule of thirds, and framing become even more critical
- Rich tonal range: A good black and white image should contain pure whites, deep blacks, and a full spectrum of grays
- Clear subject: Without color to separate elements, your main subject needs to stand out through other means
Camera Settings for Black and White Photography
Shooting in RAW vs. JPEG
Always shoot in RAW format when planning to convert to black and white. This gives you maximum flexibility in post-processing and preserves all the tonal information you’ll need for creating compelling monochrome images.
Recommended camera settings:
- File format: RAW
- ISO: Keep as low as possible (100-400) for maximum dynamic range
- Aperture: Varies by subject, but f/8-f/11 often provides optimal sharpness
- Shutter speed: Adjust based on your creative intent and lighting conditions
Using Your Camera’s Monochrome Mode
Most modern cameras offer black and white preview modes. While you should still shoot in RAW, these modes help you visualize your composition without color distractions.
Steps to enable monochrome preview:
- Navigate to your camera’s picture style/picture control settings
- Select “Monochrome” or “Black & White” mode
- Adjust contrast, sharpness, and filter effects if available
- Ensure you’re still recording RAW files for post-processing flexibility
Metering for Black and White
Black and white photography requires careful attention to exposure:
- Spot metering: Ideal for controlling exposure on your main subject
- Center-weighted metering: Good for portraits and subjects in the center of the frame
- Matrix/Evaluative metering: Suitable for evenly lit scenes
Remember to expose for the highlights and recover shadow details in post-processing when working with high-contrast scenes.
Composition Techniques for Monochrome Images
Leading Lines and Geometric Patterns
Without color to guide the eye, strong compositional elements become essential:
- Identify strong lines: Look for architectural elements, roads, shorelines, or natural formations
- Use diagonal compositions: Diagonal lines create dynamic energy in black and white images
- Emphasize patterns: Repetitive elements become more prominent without color distractions
- Frame your subject: Use natural or architectural frames to draw attention to your main subject
Working with Light and Shadow
Light becomes your primary tool for creating mood and dimension:
- Golden hour: Provides warm, directional light that translates beautifully to black and white
- Harsh midday sun: Creates strong shadows and high contrast
- Overcast conditions: Offer even lighting perfect for portraits and detailed subjects
- Window light: Excellent for indoor photography with natural gradation
The Rule of Thirds in Black and White
Apply the rule of thirds with special attention to tonal balance:
- Place important tonal contrasts along the grid lines
- Position your brightest or darkest elements at intersection points
- Balance light and dark areas across the frame
- Use negative space effectively to emphasize your subject
Post-Processing Techniques
Essential Software Options
For serious black and white work, consider these professional options:
- Adobe Lightroom: Excellent for RAW processing and batch editing
- Adobe Photoshop: Offers advanced masking and local adjustments
- Capture One: Professional-grade RAW processor with excellent tonal controls
- Silver Efex Pro: Specialized black and white processing plugin
Step-by-Step Conversion Process
Method 1: Basic Lightroom Conversion
-
Import your RAW file into Lightroom
-
Navigate to the HSL panel and click “B&W” or press “V”
-
Adjust the color mixer sliders to control how different colors translate to gray tones:
- Red: Affects skin tones and warm objects
- Orange: Influences skin tones and sunset skies
- Yellow: Controls foliage and some skin tones
- Green: Affects vegetation and landscapes
- Blue: Influences skies and water
- Purple/Magenta: Fine-tunes specific color ranges
-
Fine-tune exposure and contrast:
- Exposure: Overall brightness
- Highlights: Recover blown-out areas
- Shadows: Lift or deepen shadow details
- Whites/Blacks: Set your white and black points
-
Add local adjustments using masking tools for selective editing
Method 2: Advanced Photoshop Techniques
- Open your image in Photoshop
- Create a Black & White adjustment layer
- Adjust individual color channels using the Properties panel
- Add contrast with a Curves adjustment layer
- Use layer masks for selective adjustments
- Apply dodge and burn techniques for fine-tonal control
Pro Tips for Post-Processing
- Don’t over-process: Maintain natural-looking tones
- Pay attention to skin tones: In portraits, ensure flattering gray translations
- Use graduated filters: Control exposure across the frame
- Experiment with split toning: Add subtle warm or cool tones to highlights and shadows
- Save your presets: Create consistent looks across your portfolio
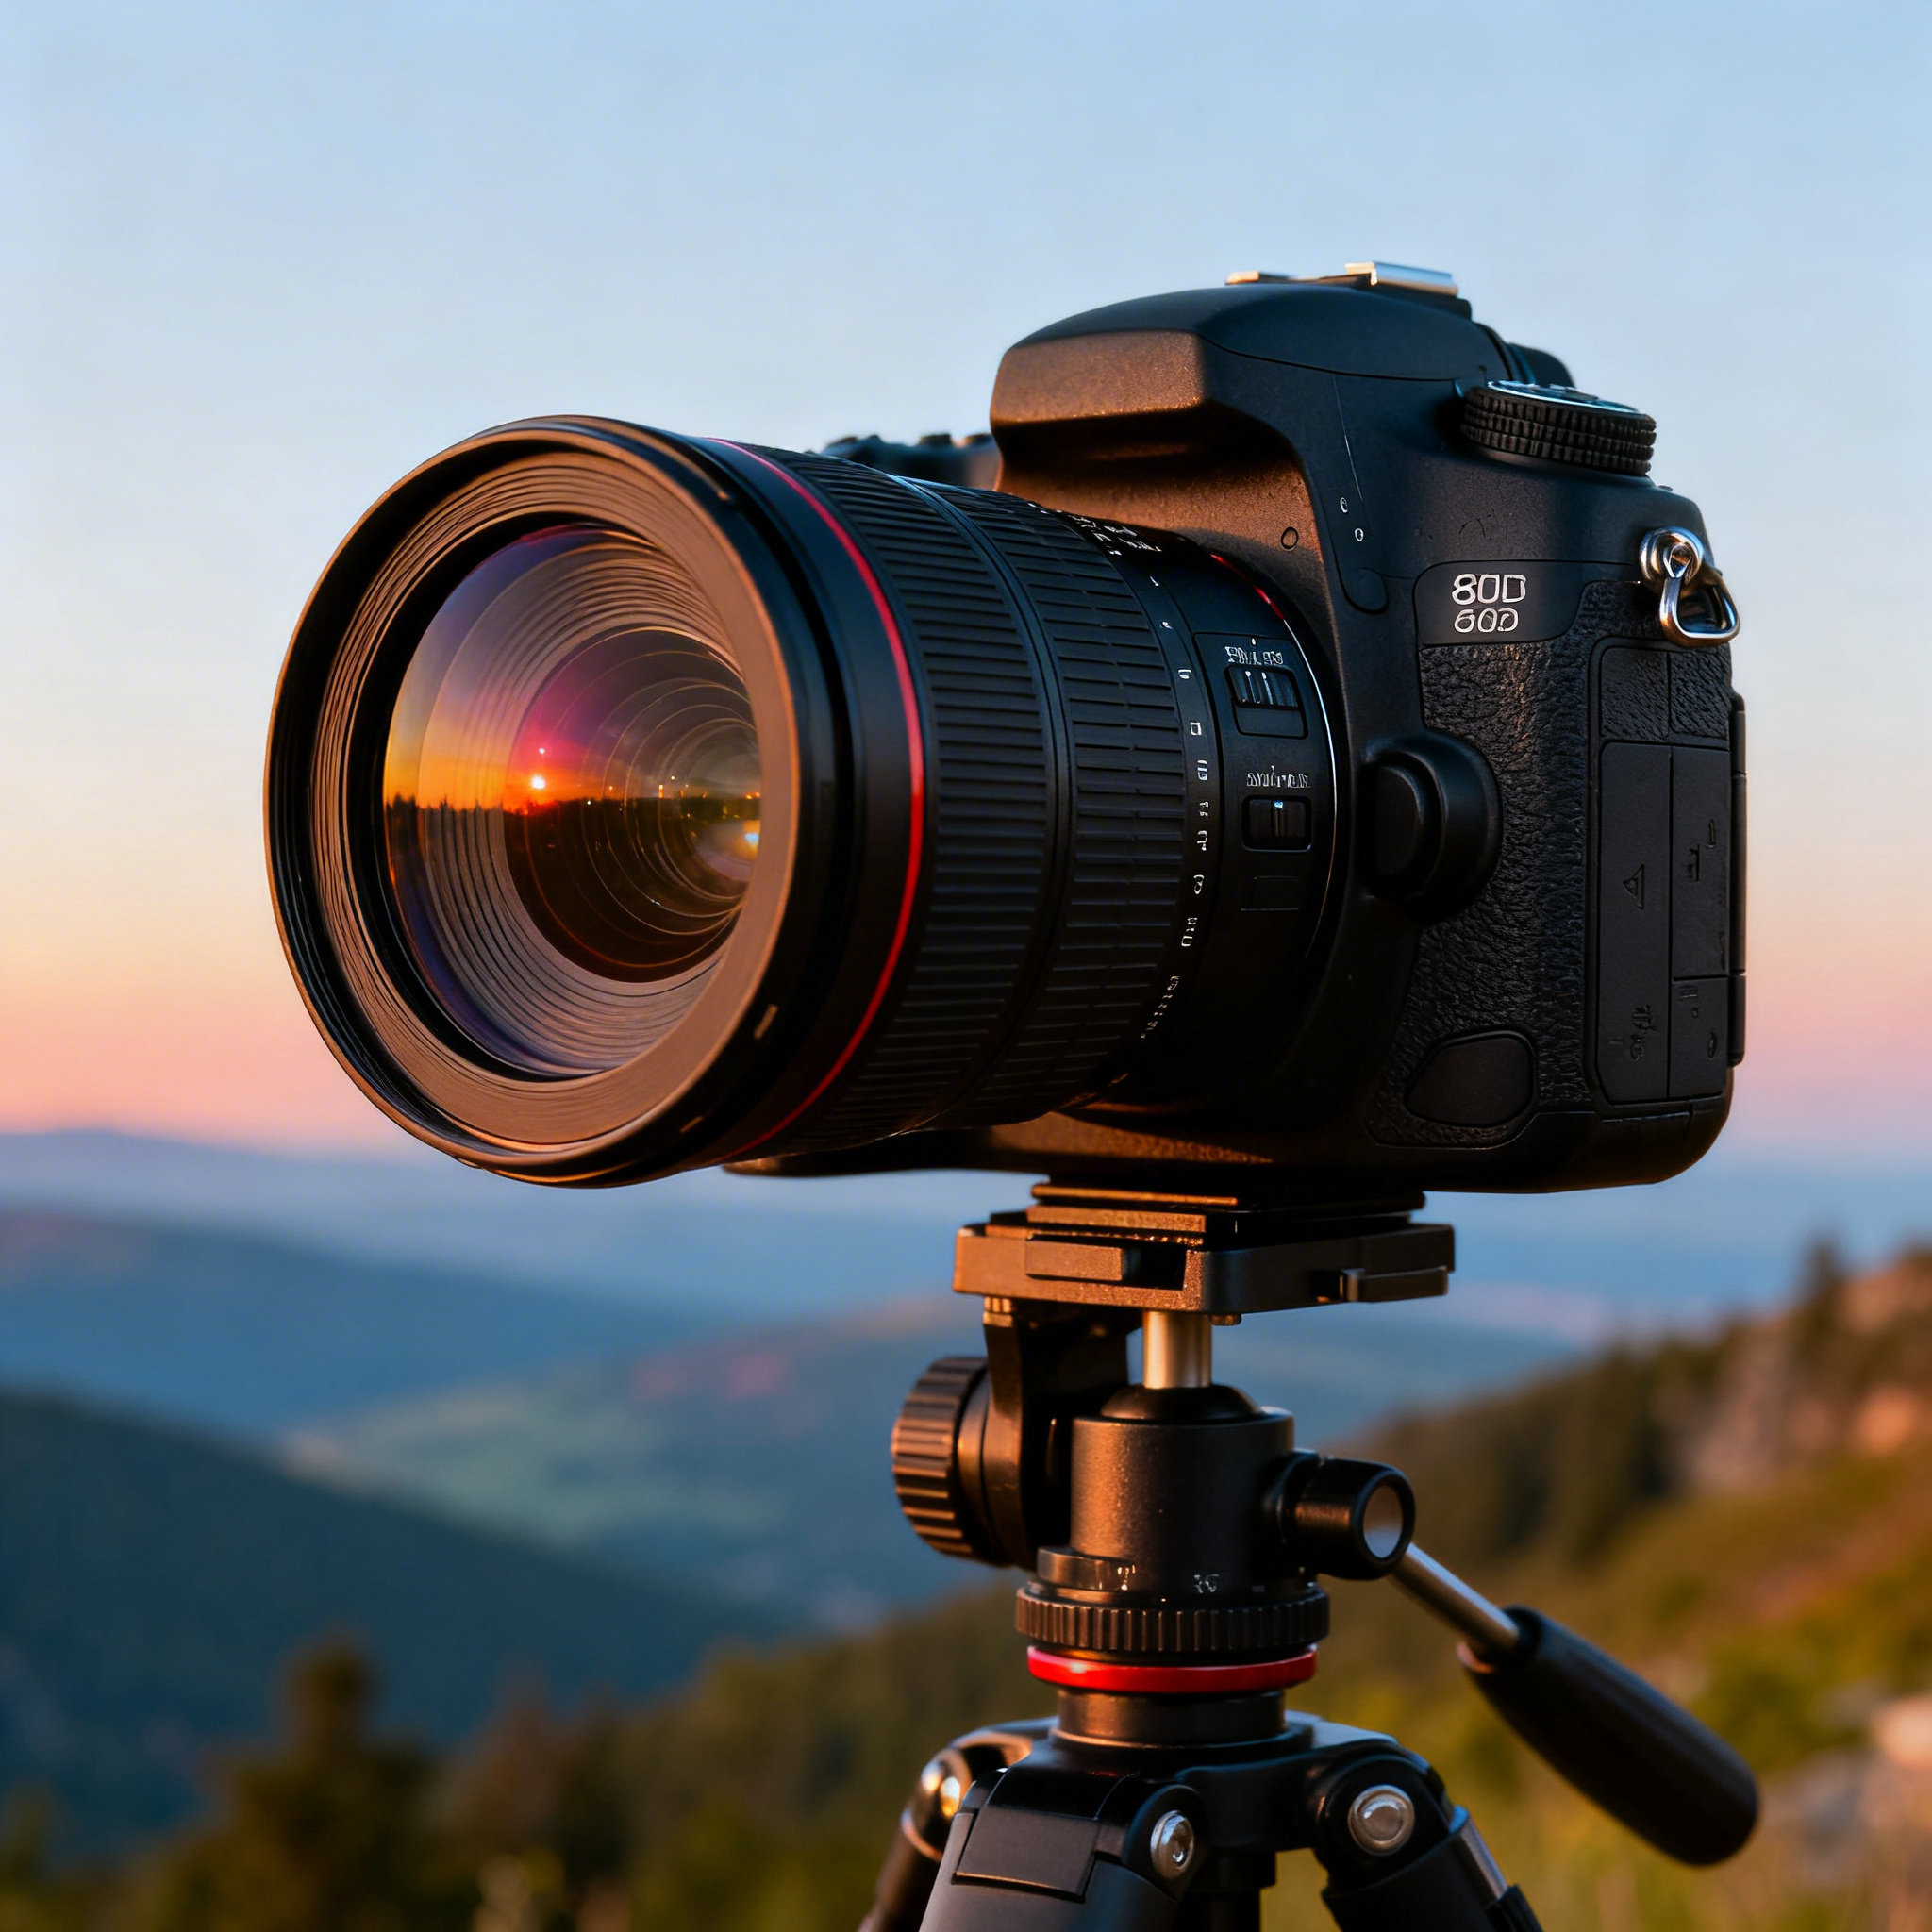
Equipment Recommendations
Camera Bodies
While any camera can capture images for black and white conversion, some features are particularly beneficial:
Full-frame cameras offer better dynamic range and low-light performance, crucial for monochrome work. APS-C sensors can also produce excellent results and are often more budget-friendly.
Essential Lenses
Different focal lengths serve various purposes in black and white photography:
- 35mm: Great for environmental portraits and street photography
- 50mm: Versatile for general photography with natural perspective
- 85mm: Ideal for portraits with beautiful background separation
- 24-70mm zoom: Offers flexibility for various shooting situations
Useful Accessories
Consider these accessories to enhance your black and white photography:
- Polarizing filters: Reduce reflections and increase contrast in skies
- Neutral density filters: Allow for longer exposures and creative effects
- Tripod: Essential for sharp images in low light or long exposures
- Remote shutter release: Minimize camera shake during critical shots
Practical Shooting Scenarios
Portrait Photography in Black and White
Step-by-step approach:
- Choose appropriate lighting: Window light or soft artificial lighting works well
- Focus on eyes: Ensure tack-sharp focus on your subject’s eyes
- Watch your background: Avoid distracting elements that compete with your subject
- Direct your subject: Guide them to natural, relaxed expressions
- Shoot at wider apertures: f/2.8-f/4 for pleasant background blur
Settings recommendations:
- ISO: 100-800 depending on light
- Aperture: f/2.8-f/5.6
- Focus: Single-point autofocus on the eyes
Landscape Photography
Preparation steps:
- Scout locations during different lighting conditions
- Use a tripod for sharp images and multiple exposures
- Bracket exposures to capture full tonal range
- Look for interesting skies - they’re crucial in black and white landscapes
- Include foreground interest to create depth
Camera settings:
- ISO: 100-200 for maximum image quality
- Aperture: f/8-f/11 for optimal sharpness
- Focus: Use hyperfocal distance focusing
Street Photography
Approach and technique:
- Observe light and shadow patterns throughout the day
- Look for compelling human moments and interactions
- Use zone focusing for quick shooting without missing moments
- Shoot at higher ISO when necessary to maintain faster shutter speeds
- Be patient and wait for the right moment
Recommended settings:
- ISO: 400-1600 as needed
- Aperture: f/5.6-f/8 for sufficient depth of field
- Shutter: 1/125s or faster to freeze motion
Common Mistakes and How to Avoid Them
Technical Mistakes
-
Underexposing images: Black and white doesn’t mean dark and muddy
- Solution: Expose for the highlights and lift shadows in post-processing
-
Over-sharpening in post: Excessive sharpening creates unnatural-looking images
- Solution: Apply sharpening subtly and use masking to protect smooth areas
-
Ignoring the histogram: Not paying attention to exposure data
- Solution: Use your camera’s histogram to ensure proper exposure
Compositional Mistakes
-
Converting poor color images: Not all color photos work in black and white
- Solution: Look for strong contrast, interesting light, and compelling subjects
-
Lack of tonal variety: Images that are too flat or too contrasty
- Solution: Aim for a full range of tones from pure black to pure white
-
Busy compositions: Too many competing elements without clear hierarchy
- Solution: Simplify your compositions and emphasize your main subject
Building Your Black and White Portfolio
Developing Your Personal Style
- Study master photographers: Learn from Ansel Adams, Henri Cartier-Bresson, and contemporary artists
- Experiment with different processing styles: From high-key to dramatic contrast
- Focus on specific subjects: Develop expertise in particular areas
- Maintain consistency: Create a cohesive look across your portfolio
- Print your work: See how your images translate to physical prints
Sharing and Critiquing Your Work
- Join photography communities: Get feedback from other photographers
- Enter competitions: Challenge yourself and gain recognition
- Create online galleries: Showcase your work on photography platforms
- Seek mentorship: Learn from experienced black and white photographers
Conclusion and Next Steps
Black and white photography offers a unique creative outlet that emphasizes the fundamental elements of composition, light, and emotion. By mastering the technical aspects covered in this guide and developing your artistic vision, you can create compelling monochrome images that stand the test of time.
Key takeaways for your black and white photography journey:
- Master your camera settings: Shoot in RAW and understand how to expose for black and white conversion
- Focus on composition: Strong lines, patterns, and contrast become even more critical without color
- Learn post-processing: Develop skills in software like Lightroom and Photoshop for professional results
- Practice regularly: Like any art form, black and white photography improves with consistent practice
- Study and analyze: Learn from masters and contemporary photographers to develop your eye
Start by experimenting with converting your existing color images to black and white, then begin shooting with monochrome in mind. Remember that great black and white photography isn’t just about removing color—it’s about creating images that are stronger, more emotional, and more impactful because of their monochromatic nature.
Whether you’re drawn to the dramatic contrasts of street photography, the subtle tones of portraiture, or the timeless beauty of landscapes, black and white photography offers endless creative possibilities. Take your camera, apply these techniques, and begin your journey into the fascinating world of monochrome imagery.
Related Tags
Looking for the Best Camera Deals?
Check out our latest buying guides and comparison articles to find the perfect camera for your needs.
Browse Buying Guides