Black and White Photography: Complete Guide for Beginners
Master black and white photography with our complete tutorial guide. Learn composition, lighting, editing techniques, and camera settings for stunning monochrome images.
Black and white photography remains one of the most powerful and timeless forms of visual storytelling. While we live in a world saturated with color, the absence of it can create images that are more emotionally compelling, dramatic, and artistically striking than their colored counterparts. This comprehensive guide will take you through everything you need to know to master the art of monochrome photography.
Understanding the Fundamentals of Black and White Photography
Why Black and White Still Matters
In an era of vibrant digital displays and Instagram filters, you might wonder why black and white photography continues to captivate viewers. The answer lies in its unique ability to strip away distractions and focus on the essential elements of an image: composition, contrast, texture, form, and emotion.
Black and white photography forces both the photographer and viewer to see beyond color, revealing the underlying structure and mood of a scene. It can transform an ordinary moment into something extraordinary, adding a sense of timelessness and artistic weight that color images sometimes struggle to achieve.
Key Elements of Strong Monochrome Images
Before diving into technical settings, it’s crucial to understand what makes a black and white photograph successful:
Contrast is the foundation of compelling monochrome images. Without the natural separation that color provides, you need strong tonal differences between light and dark areas to create visual interest and depth.
Texture becomes more prominent in black and white photography. The absence of color allows viewers to focus on the tactile qualities of surfaces, from the rough bark of a tree to the smooth surface of water.
Form and shape take on greater importance when color is removed. Strong geometric elements, leading lines, and well-defined subjects become the primary visual anchors in your composition.
Light quality is perhaps more critical in monochrome than in color photography. The direction, intensity, and character of light directly impact the mood and drama of your final image.
Essential Camera Settings for Black and White Photography
Shooting in RAW vs. JPEG
One of the most important decisions you’ll make is whether to capture your images in color and convert them later or shoot directly in black and white mode. For maximum flexibility and image quality, always shoot in RAW format, even when using your camera’s monochrome mode.
When you shoot RAW, you preserve all the color information, allowing you to fine-tune the black and white conversion in post-processing. This approach gives you control over how different colors translate to various gray tones, which can dramatically impact your final image.
Camera Settings Configuration
ISO Settings: Start with your camera’s base ISO (typically 100 or 200) for optimal image quality. Black and white images can often handle higher noise levels more gracefully than color images, so don’t hesitate to push ISO when needed. Film grain and digital noise can actually enhance the mood in monochrome photography.
Aperture Selection: Your aperture choice depends on your creative vision. For portraits and subjects where you want to isolate the subject, use wider apertures (f/1.4-f/2.8). For landscapes and architectural photography where you want sharp detail throughout, choose narrower apertures (f/8-f/11).
Shutter Speed Considerations: In black and white photography, motion blur can be particularly effective for creating mood and energy. Experiment with slower shutter speeds to capture movement in clouds, water, or crowds.
Metering for Monochrome
Understanding how your camera’s meter reads the scene is crucial for black and white photography. Since you’re thinking in terms of tones rather than colors, consider using spot metering to measure specific areas of your composition.
The Zone System, developed by Ansel Adams, remains relevant for digital black and white photography. Think of your image in terms of 11 zones from pure black (Zone 0) to pure white (Zone X), with middle gray at Zone V. Expose for the most important tonal area in your composition, then adjust shadows and highlights in post-processing.
Composition Techniques for Monochrome Photography
Working with Light and Shadow
In black and white photography, light becomes your paint and shadows your canvas. Look for scenes with strong directional lighting that creates distinct areas of light and shadow. Side lighting can reveal texture and form, while backlighting can create dramatic silhouettes.
Golden hour and blue hour aren’t just for color photography. These times of day provide soft, directional light that can add depth and dimension to your monochrome images. Don’t overlook overcast days either – the even, diffused light can be perfect for portraits and detail shots.
Finding Strong Contrast
Successful black and white images often feature a full range of tones from pure black to pure white. Look for scenes that naturally provide this contrast, such as:
- Architecture with strong geometric forms against bright skies
- Portraits with dramatic lighting
- Landscapes with dark foreground elements and bright backgrounds
- Street scenes with deep shadows and bright highlights
Leading Lines and Patterns
Without color to guide the eye, leading lines become even more important in black and white photography. Look for natural and man-made lines that draw the viewer through your composition:
- Rivers, coastlines, and paths in landscapes
- Architectural elements like stairs, bridges, and building edges
- Shadows cast by objects
- Patterns in clouds, waves, or textures
Post-Processing Workflow for Black and White Images
Initial RAW Processing
Start your black and white conversion in your RAW processor of choice (Lightroom, Capture One, or similar). Before converting to monochrome, make basic adjustments to exposure, highlights, shadows, and whites/blacks to optimize the tonal range.
Many photographers make the mistake of simply desaturating a color image or using a basic black and white conversion. Instead, use tools that allow you to control how individual colors translate to grayscale values.
Advanced Conversion Techniques
Channel Mixing: This technique gives you control over how much each color channel (red, green, blue) contributes to the final monochrome image. Generally:
- Increasing red channel emphasis brightens skin tones and darkens skies
- Green channel adjustments affect foliage and natural elements
- Blue channel modifications impact skies and water
Color Filter Simulation: Digital tools can simulate the effect of colored filters used in traditional film photography:
- Red filter effect darkens skies dramatically and increases contrast
- Yellow filter provides subtle sky darkening and good overall contrast
- Orange filter offers a balance between yellow and red effects
Fine-Tuning Your Monochrome Images
Once you’ve completed your initial conversion, focus on these key adjustments:
Local Adjustments: Use masking tools to selectively lighten or darken specific areas of your image. This technique, similar to dodging and burning in the darkroom, allows you to guide the viewer’s eye and enhance the mood.
Contrast Control: Beyond basic contrast adjustments, experiment with tone curve modifications to create specific moods. An S-curve increases contrast, while a reverse S-curve creates a more subdued, vintage look.
Grain and Texture: Adding subtle grain can enhance the artistic quality of your black and white images, especially when mimicking specific film stocks or creating a vintage aesthetic.
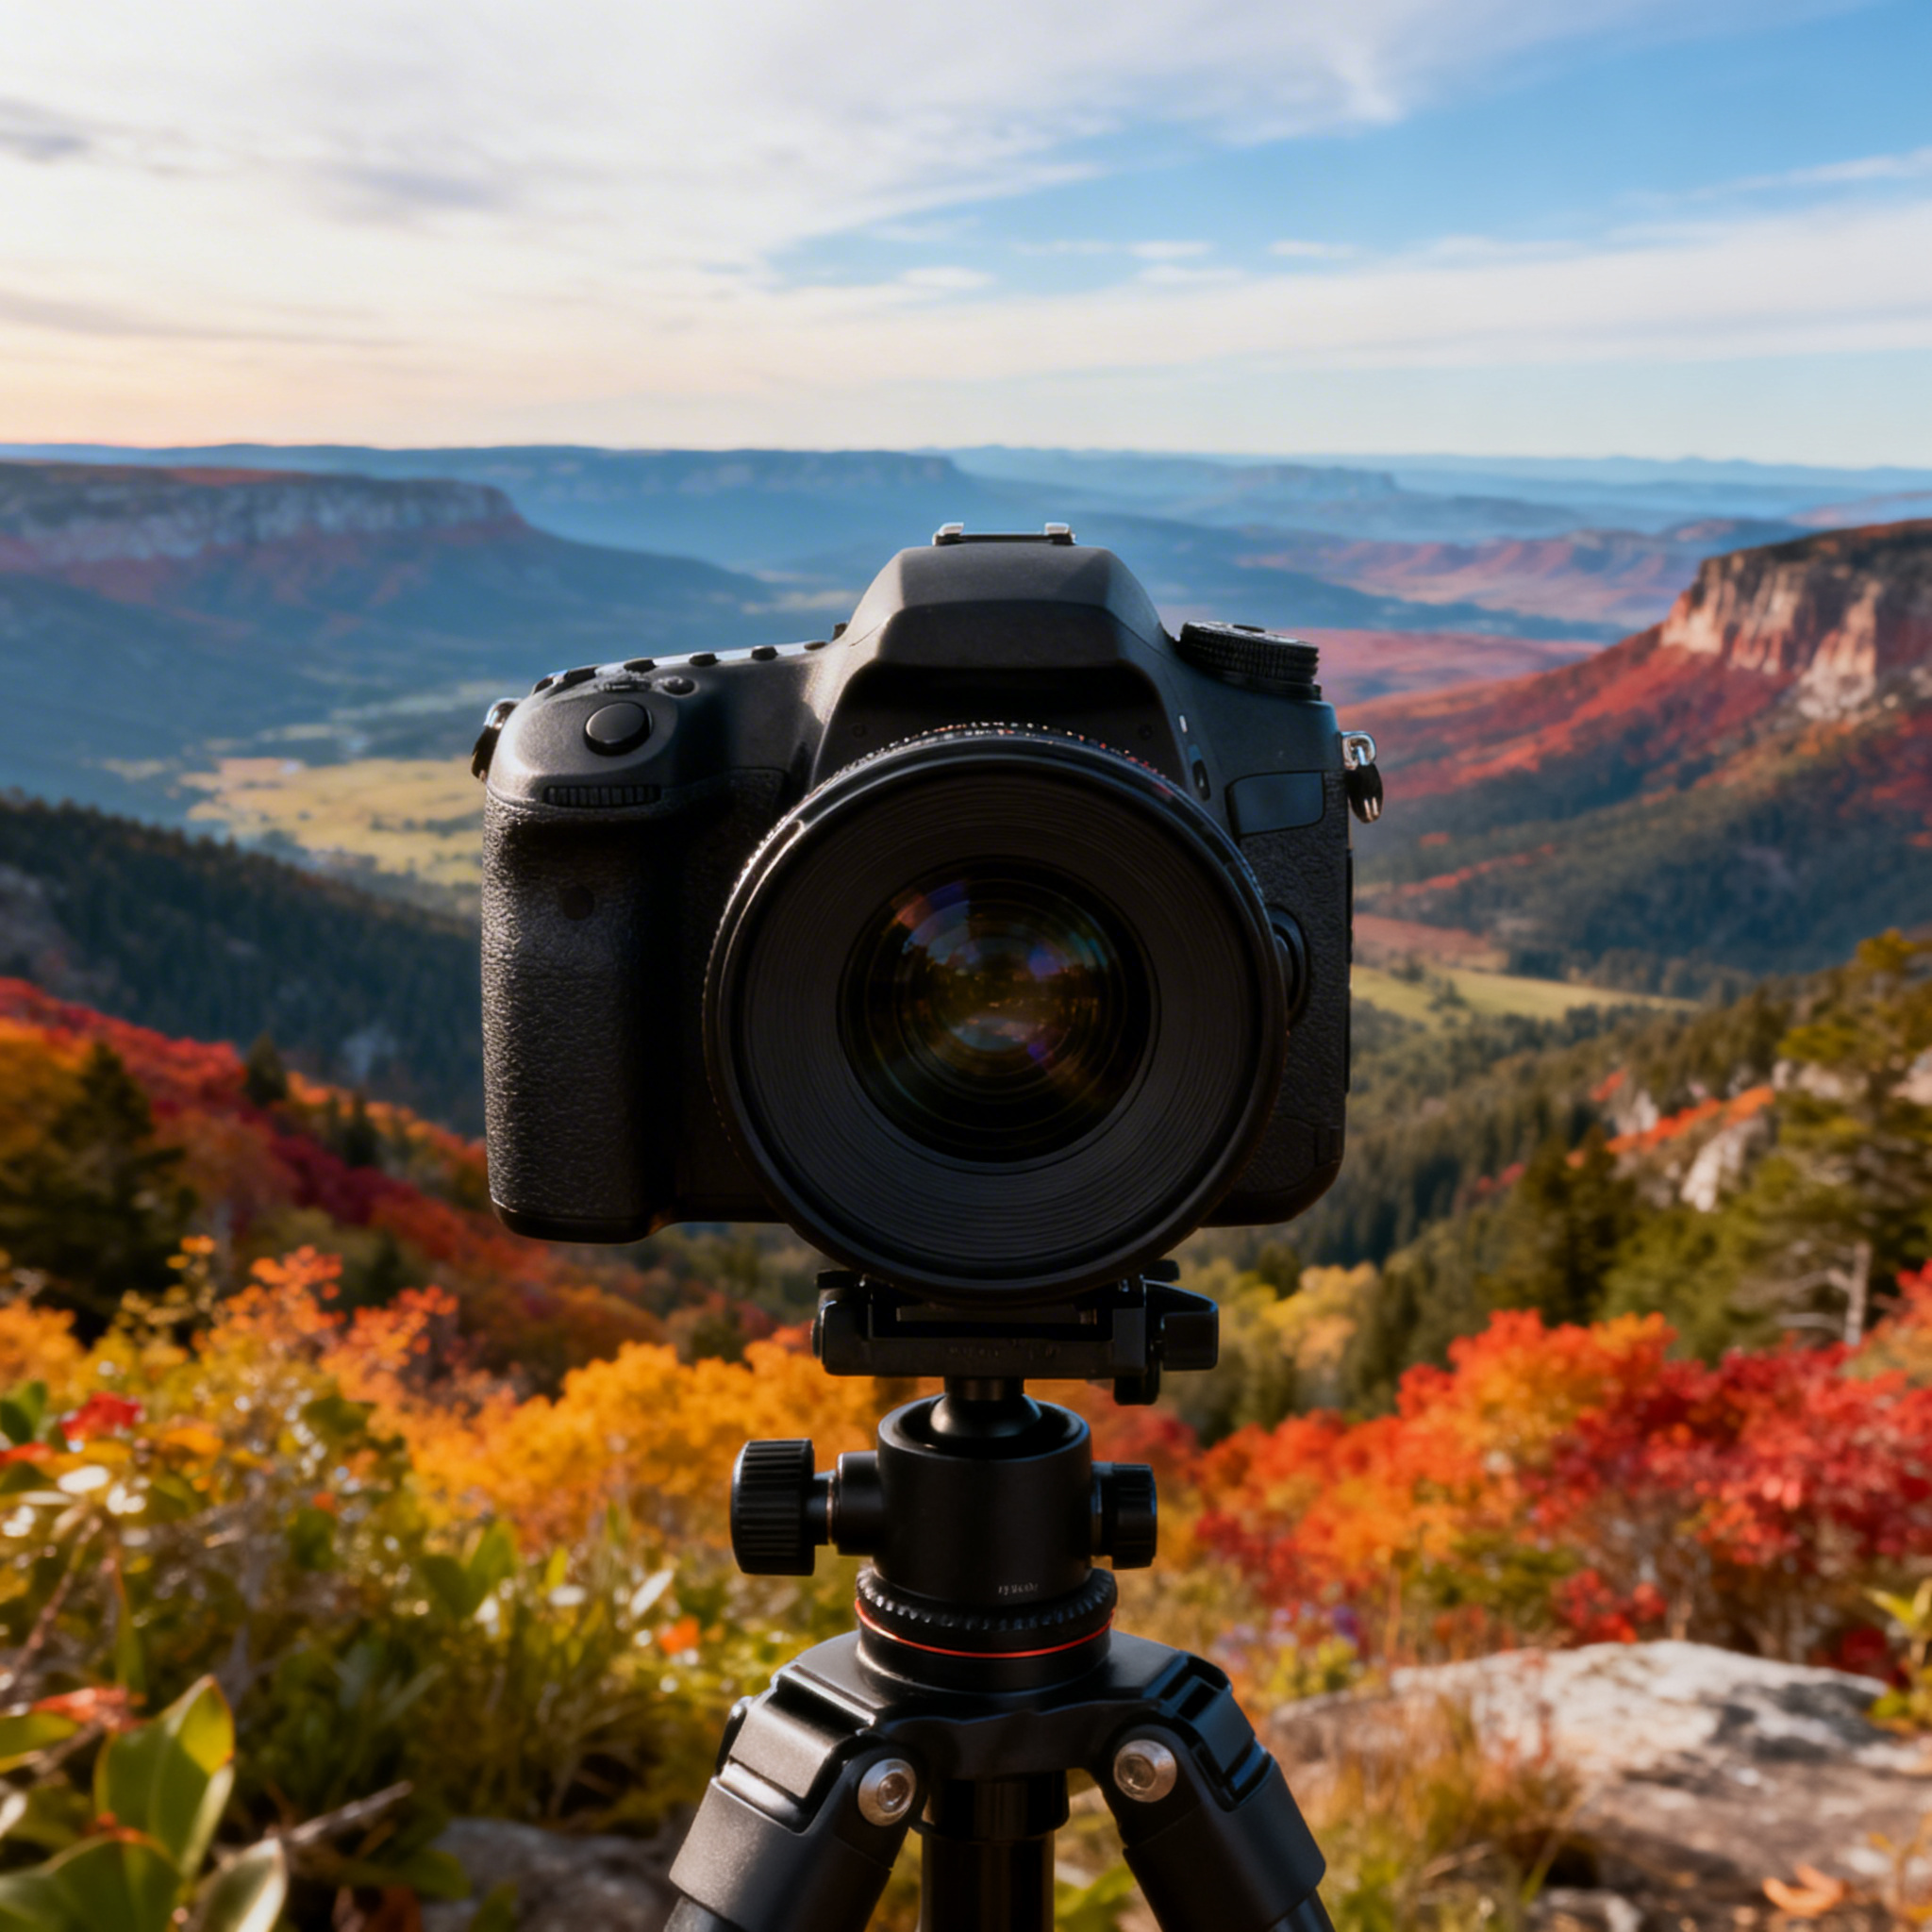
Equipment Recommendations
Camera Bodies
While any camera can produce excellent black and white images, some models offer features particularly beneficial for monochrome photography. The Sony A7 IV represents an excellent choice for black and white photography, offering exceptional dynamic range and low-light performance that’s crucial for monochrome work.
Lenses for Black and White Photography
Prime lenses often excel in black and white photography due to their typically superior contrast and sharpness characteristics. Consider these focal lengths:
35mm: Ideal for environmental portraits and street photography 50mm: The classic “normal” focal length that sees similarly to human vision 85mm: Perfect for portraits with beautiful bokeh 24-70mm: Versatile zoom range for various shooting situations
Essential Accessories
Polarizing Filters: These reduce reflections and increase contrast in skies and water, effects that translate beautifully to black and white images.
Neutral Density Filters: Allow longer exposures for creative effects like smooth water and cloud movement.
Tripod: Essential for long exposures and ensuring sharp images in low light conditions.
Genre-Specific Techniques
Portrait Photography in Black and White
Black and white portraits focus attention on the subject’s expression, character, and emotion without the distraction of color. Pay special attention to:
- Lighting direction: Side lighting reveals facial structure and adds dimension
- Background selection: Choose backgrounds that provide good separation from your subject
- Skin tone rendering: Adjust your conversion to ensure flattering skin tone reproduction
- Eye emphasis: In monochrome portraits, the eyes become even more critical as focal points
Landscape Photography Without Color
Black and white landscapes require a different approach than color landscape photography:
- Sky treatment: Dramatic skies become even more important when color is removed
- Foreground elements: Strong foreground subjects help create depth and visual interest
- Seasonal considerations: Autumn foliage that’s spectacular in color may appear flat in black and white
- Weather conditions: Stormy, dramatic weather often translates beautifully to monochrome
Street Photography in Monochrome
The tradition of black and white street photography continues because it allows photographers to capture the essence of urban life:
- Human moments: Focus on expressions, gestures, and interactions
- Urban geometry: Use architectural elements to frame and compose shots
- Light and shadow play: City environments often provide dramatic lighting contrasts
- Social documentation: Black and white can lend gravitas to social commentary
Common Mistakes and How to Avoid Them
Over-processing
One of the most common errors in black and white photography is pushing contrast and drama too far. While monochrome images can handle more aggressive processing than color images, restraint often produces more sophisticated results. Aim for rich, full tonal range rather than excessive contrast.
Ignoring Color When Shooting
Even though your final image will be monochrome, you should still consider color when composing. Colors that appear distinct to the eye may render as similar gray tones in black and white conversion. Learn to visualize how different colors will translate to grayscale values.
Neglecting the Zone System Principles
Understanding tonal relationships is crucial for successful black and white photography. Practice visualizing scenes in terms of different gray zones, and expose to preserve detail in the most important tonal areas.
Advanced Techniques and Creative Approaches
Long Exposure Black and White
Long exposure techniques can create ethereal, minimalist black and white images. Use neutral density filters to achieve exposures of several minutes, transforming moving elements like clouds and water into smooth, abstract forms.
Infrared Black and White
Infrared photography creates surreal black and white images with unique tonal relationships. Foliage appears white, skies turn dark, and the overall effect is otherworldly. While specialized equipment is required, the results can be stunning.
High-Key and Low-Key Techniques
High-key images are predominantly bright with minimal dark areas, creating a light, airy feeling. Low-key images are primarily dark with selective bright areas, producing dramatic, moody results. Both techniques can be powerful when used appropriately.
Building Your Black and White Portfolio
Developing Your Vision
Study the work of master black and white photographers like Ansel Adams, Henri Cartier-Bresson, Vivian Maier, and Sebastião Salgado. Analyze what makes their images compelling and how they use light, composition, and contrast.
Consistency in Processing
Develop a consistent processing approach that reflects your artistic vision. This doesn’t mean every image should look identical, but there should be a cohesive aesthetic thread running through your work.
Print Considerations
Black and white images often shine in print form. Consider the paper type, print size, and presentation method as part of your artistic process. Matte papers can enhance mood and texture, while glossy papers provide maximum detail and contrast.
Conclusion and Final Recommendations
Black and white photography offers a timeless means of artistic expression that strips away the distractions of color to focus on the fundamental elements of visual storytelling. Success in monochrome photography comes from understanding light, mastering contrast, and developing an eye for compelling compositions.
Remember that the most important tool in black and white photography isn’t your camera or software – it’s your vision. Practice seeing the world in terms of tones, textures, and contrasts. Experiment with different subjects, lighting conditions, and processing techniques to develop your unique monochrome style.
Start with the technical foundations outlined in this guide, but don’t let them constrain your creativity. The best black and white photographs often come from breaking conventional rules and following your artistic instincts. Whether you’re capturing intimate portraits, dramatic landscapes, or candid street scenes, the key is to understand why you’re choosing black and white over color and to use that choice to strengthen your visual message.
For those serious about pursuing black and white photography, invest in understanding your tools – whether that’s the Sony A7 IV or another capable camera system – but remember that the most important investment is in developing your artistic eye and technical skills. With practice and patience, you’ll discover that black and white photography offers endless opportunities for creative expression and emotional impact.
Related Tags
Looking for the Best Camera Deals?
Check out our latest buying guides and comparison articles to find the perfect camera for your needs.
Browse Buying Guides