Macro Photography Techniques: 7 Tips for Stunning Close-Ups
Master macro photography with expert techniques for sharp, detailed close-ups. Learn lighting, focus stacking, and composition tips to capture stunning images.
Macro photography opens up an entirely new world of photographic possibilities, allowing you to capture intricate details invisible to the naked eye. Whether you’re photographing the delicate patterns on a butterfly’s wing, the crystalline structure of a snowflake, or the subtle textures of everyday objects, mastering macro techniques will dramatically expand your creative toolkit.
This comprehensive guide will walk you through everything you need to know to create stunning close-up images, from essential equipment and camera settings to advanced composition techniques and troubleshooting common challenges.
Understanding Macro Photography Basics
Macro photography is technically defined as capturing subjects at a magnification ratio of 1:1 or greater, meaning the subject appears life-size or larger on your camera’s sensor. However, the term has evolved to encompass any extreme close-up photography that reveals fine details typically invisible to our eyes.
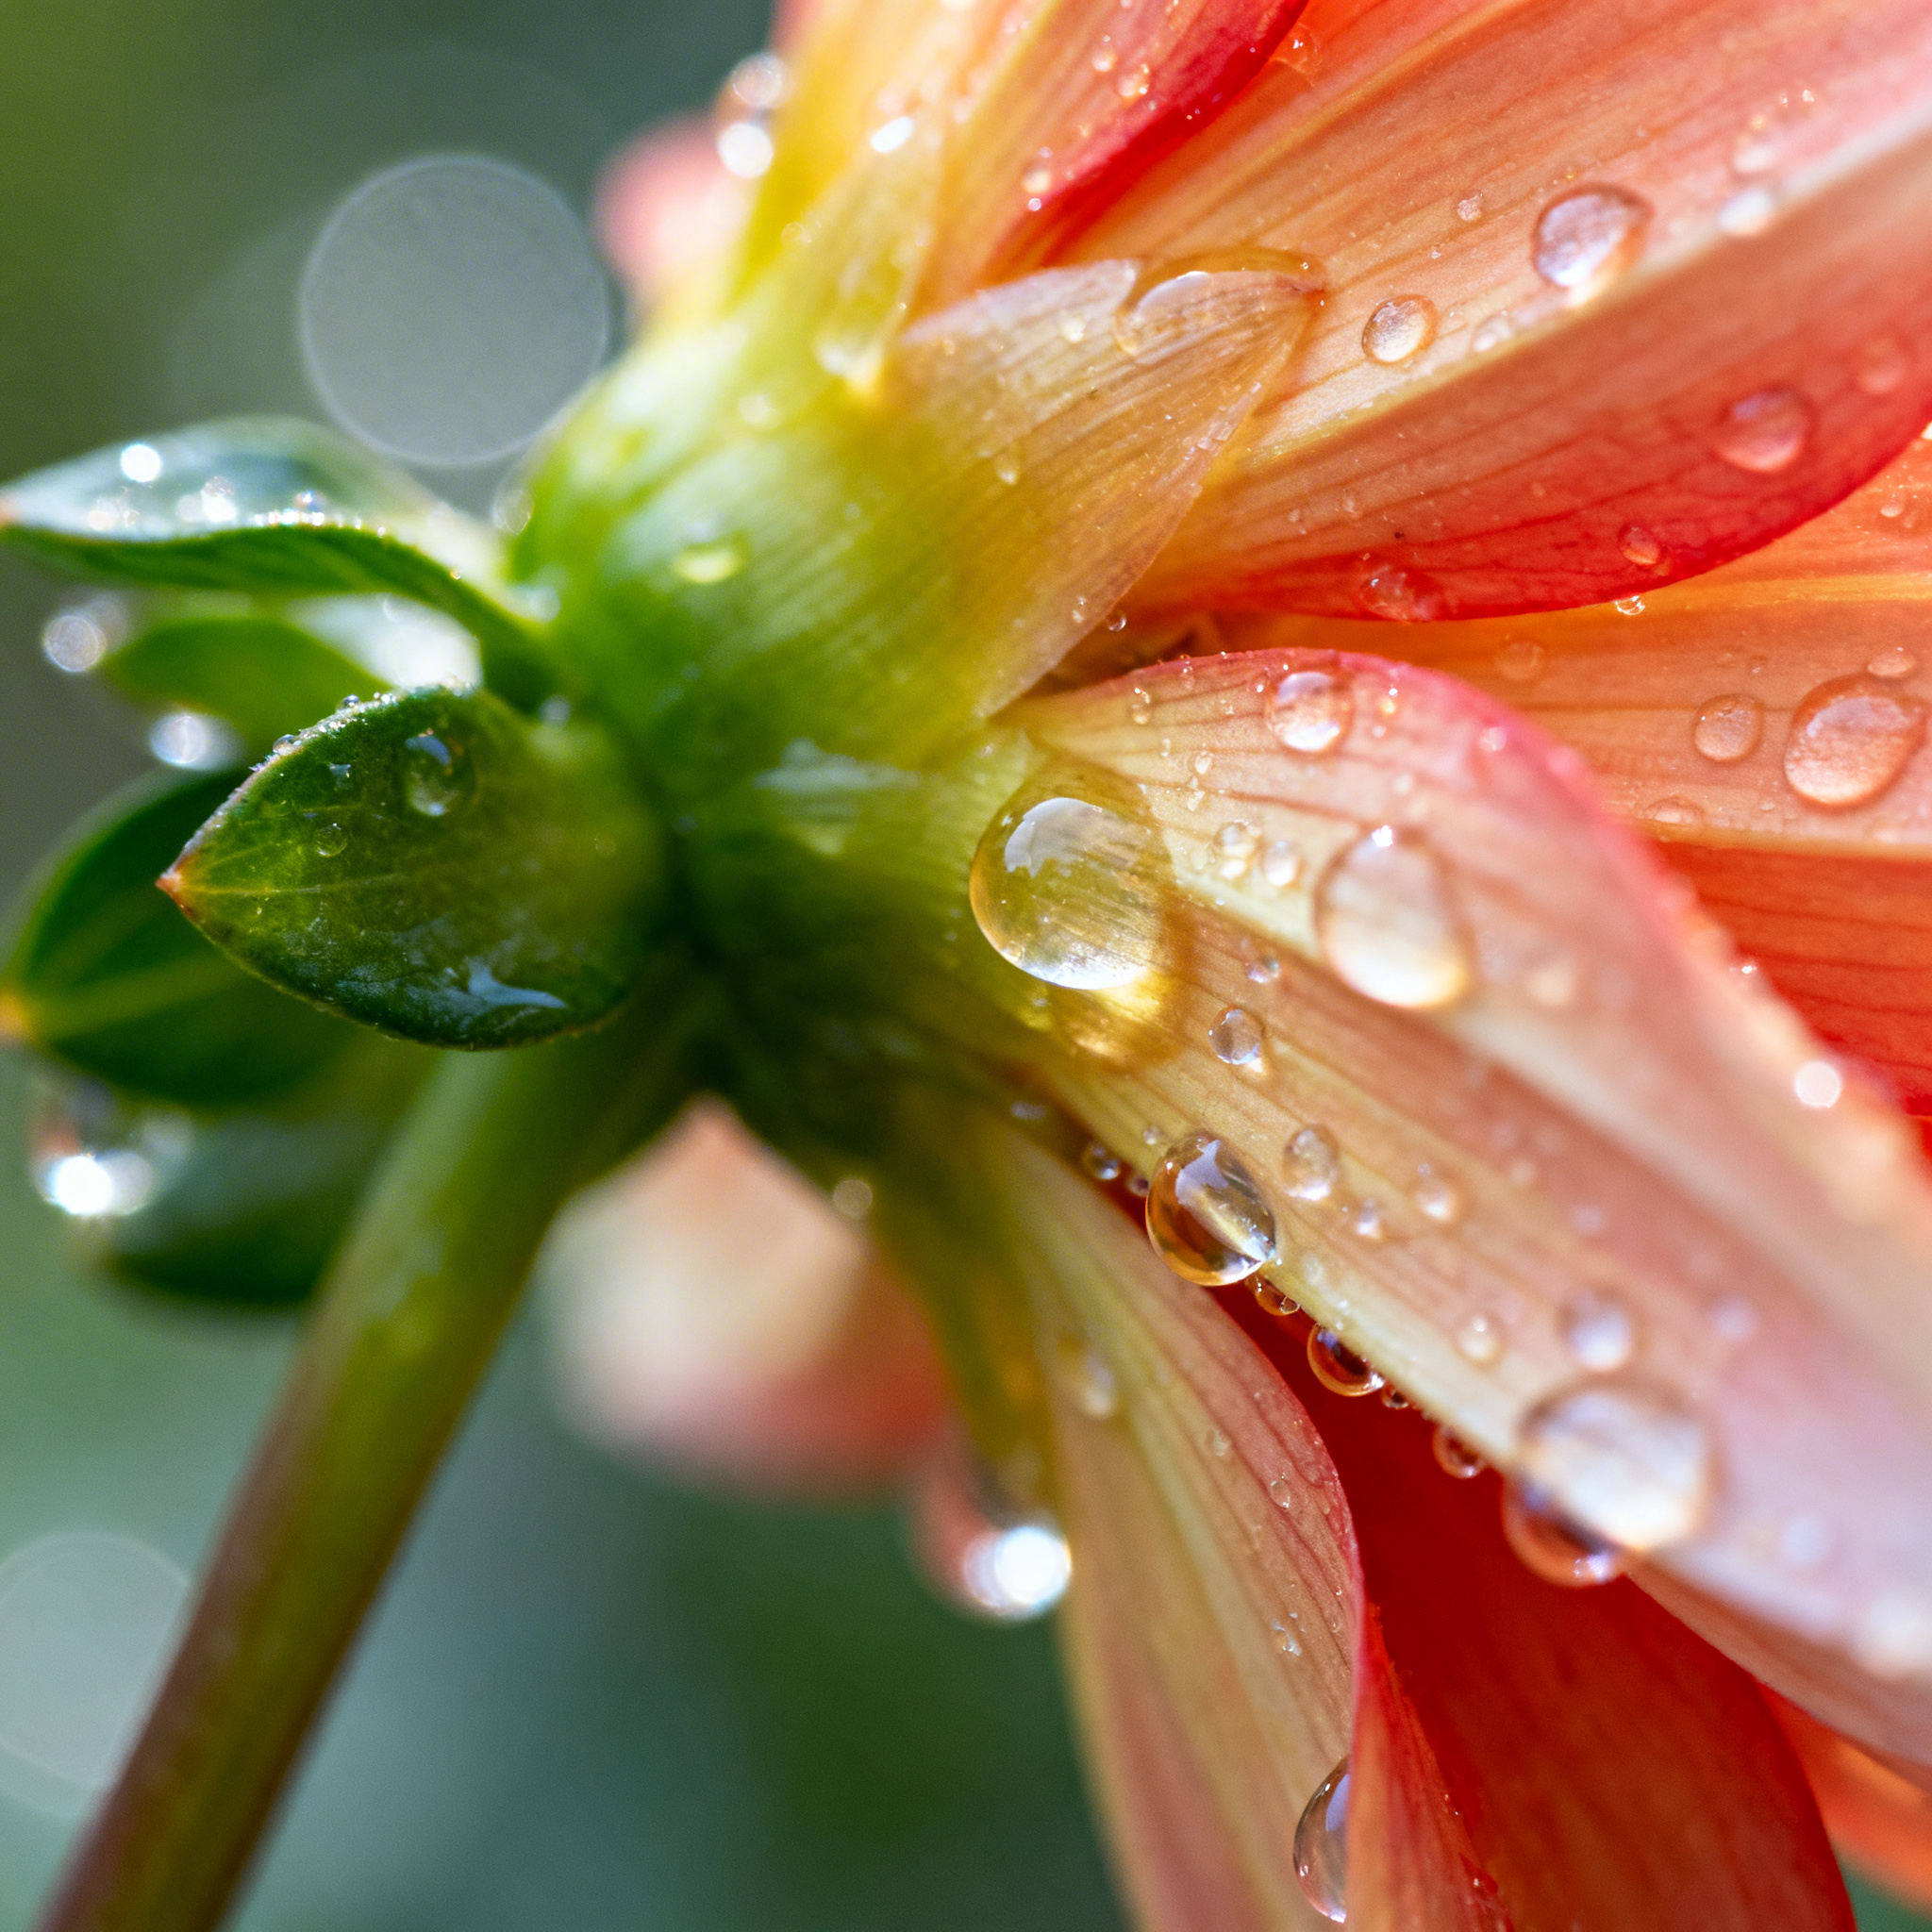
The magic of macro photography lies in its ability to transform ordinary subjects into extraordinary visual experiences. A simple water droplet becomes a perfect sphere containing an inverted world, while the surface of a leaf reveals an intricate landscape of veins and textures.
Key Magnification Ratios
Understanding magnification ratios is crucial for macro work:
- 1:4 ratio: Subject appears one-quarter life size on sensor
- 1:2 ratio: Subject appears half life size on sensor
- 1:1 ratio: True macro - subject appears life size on sensor
- 2:1 ratio: Subject appears twice life size on sensor
Essential Equipment for Macro Photography
Camera Bodies
While you can achieve macro results with any camera, certain features make the process significantly easier. Full-frame cameras like the Sony A7 IV offer excellent low-light performance and detailed image quality that’s particularly beneficial for macro work where you’re often dealing with shallow depth of field and need every bit of detail resolution.
Key camera features to prioritize:
- High resolution sensor for maximum detail capture
- Good high-ISO performance for low-light conditions
- In-body image stabilization to combat camera shake
- Articulating LCD screen for awkward shooting angles
- Focus peaking and magnification aids
Macro Lens Options
Dedicated Macro Lenses: These are purpose-built for close-up work and offer the best optical quality and maximum magnification ratios. Common focal lengths include:
- 60mm macro lenses: Compact and lightweight, ideal for tabletop photography
- 100mm macro lenses: The sweet spot for most macro work, providing good working distance
- 180mm+ macro lenses: Excellent for skittish subjects like insects
Alternative Approaches:
- Extension tubes: Affordable way to convert regular lenses for macro use
- Close-up filters: Screw-on filters that enable closer focusing
- Reverse lens mounting: Mounting a lens backwards for extreme magnification
Support Equipment
Tripods: Absolutely essential for sharp macro images. Look for tripods with:
- Low minimum height capability
- Reversible center column for ground-level shooting
- Sturdy construction to minimize vibrations
Focus Rails: These allow precise focusing adjustments without moving the entire tripod setup.
Remote Shutter Release: Minimizes camera shake during exposure.
Camera Settings for Macro Success
Aperture Selection Strategy
Aperture choice in macro photography requires balancing depth of field with image sharpness:
For Maximum Sharpness: Start with your lens’s sweet spot, typically f/8 to f/11. This provides optimal optical performance while maintaining reasonable depth of field.
For Creative Isolation: Use wider apertures (f/2.8 to f/5.6) when you want extremely shallow depth of field to isolate specific details.
For Maximum Depth: Stop down to f/16 or f/22 when you need front-to-back sharpness, but be aware of diffraction limiting overall sharpness.
Shutter Speed Considerations
Macro photography amplifies every movement, making fast shutter speeds crucial:
- Handheld shooting: Minimum 1/focal length rule applies, but aim for even faster speeds
- Tripod work: Can use slower speeds but watch for subject movement
- Wind conditions: Use faster speeds outdoors to freeze plant movement
ISO Settings
Modern cameras handle high ISOs well, so don’t be afraid to increase sensitivity to achieve proper exposure:
- Base ISO: Use lowest native ISO when possible for maximum image quality
- Auto ISO: Set maximum to ISO 3200-6400 depending on your camera’s performance
- Noise vs. blur: Better to have slight noise than motion blur in most cases
Focus Mode Selection
Manual Focus: Often preferred for precise control, especially when using focus stacking techniques.
Single-Point Autofocus: Use the smallest available AF point positioned exactly where you want critical focus.
Back-Button Focus: Separates focus from shutter release, giving you more control over the focusing process.
Lighting Techniques for Macro Photography
Natural Light Mastery
Golden Hour Magic: Soft, warm light during the first and last hours of daylight creates beautiful macro conditions with natural rim lighting and gentle shadows.
Overcast Advantages: Cloudy conditions provide perfect natural diffusion for even, shadowless lighting ideal for revealing fine details.
Backlighting Effects: Position subjects between your camera and light source to create dramatic silhouettes or translucent effects, particularly effective with leaves, petals, and thin subjects.
Flash Photography Techniques
Ring Flash Benefits: Provides shadowless, even illumination perfect for scientific documentation and revealing fine textures.
Twin Flash Setup: Offers more creative lighting control with the ability to create shadows and dimension while maintaining sufficient light output.
Diffusion Methods:
- Softboxes and mini umbrellas
- DIY diffusion using white fabric or paper
- Bounce cards to redirect harsh light
Continuous Lighting
LED Panel Advantages: Provides constant illumination making composition and focusing easier while offering adjustable color temperature.
Light Positioning: Experiment with side lighting, top lighting, and multiple light sources to create depth and reveal texture.
Step-by-Step Macro Photography Workflow
Pre-Shoot Preparation
- Clean your equipment: Dust and smudges are magnified in macro work
- Plan your session: Research locations and subjects in advance
- Check weather conditions: Wind and precipitation greatly impact outdoor macro work
- Prepare backup power: Macro sessions often require extended shooting time
Camera Setup Process
- Mount camera securely: Ensure tripod is stable and properly adjusted
- Set initial camera settings:
- Aperture: f/8 as starting point
- ISO: Base ISO or Auto with maximum limit
- Shutter: Based on conditions and stabilization available
- Focus mode: Manual or single-point AF
- Configure LCD aids: Enable focus peaking, magnification, and histogram
- Test exposure: Take sample shots and adjust settings as needed
Shooting Technique
- Compose carefully: Use live view to fine-tune composition
- Focus precisely: Use manual focus with magnification for critical sharpness
- Check depth of field: Use depth of field preview or take test shots
- Minimize vibrations: Use remote release or self-timer
- Bracket exposures: Take multiple exposures for challenging lighting
- Review and adjust: Check images frequently and modify approach as needed
Advanced Macro Techniques
Focus Stacking for Maximum Sharpness
Focus stacking combines multiple images taken at different focus distances to achieve front-to-back sharpness impossible with a single exposure.
Equipment Setup:
- Sturdy tripod with focus rail
- Remote shutter release
- Consistent lighting
Shooting Process:
- Set camera to manual focus and exposure
- Focus on nearest point of subject
- Take first exposure
- Adjust focus slightly deeper into scene
- Repeat until entire subject is covered
- Process images using focus stacking software
Software Options:
- Adobe Photoshop (built-in focus stacking)
- Helicon Focus (specialized stacking software)
- Zerene Stacker (popular among macro photographers)
High-Speed Macro Photography
Capturing fast-moving subjects requires specialized techniques:
Equipment Requirements:
- High-speed flash units
- Motion sensors or sound triggers
- Fast autofocus camera system
Technique Tips:
- Pre-focus on area where action will occur
- Use continuous autofocus for moving subjects
- Employ burst mode for sequence shots
- Practice timing with slower subjects first
Composition Strategies for Macro Images
Rule of Thirds Application
Even in extreme close-ups, compositional guidelines remain important:
- Place key focal points on rule-of-thirds intersection points
- Use leading lines to guide viewer attention
- Consider negative space for visual balance
Pattern and Texture Emphasis
Macro photography excels at revealing patterns invisible at normal viewing distances:
- Look for repeating elements in nature
- Emphasize texture through lighting direction
- Use shallow depth of field to isolate pattern sections
Color and Contrast
- Seek complementary color combinations
- Use monochromatic subjects for texture emphasis
- Consider black backgrounds to make subjects pop
- Experiment with color temperature for mood
Common Challenges and Solutions
Camera Shake Issues
Problem: Magnification amplifies every vibration Solutions:
- Use proper tripod technique
- Enable image stabilization if available
- Use remote shutter release or self-timer
- Shield setup from wind
Depth of Field Limitations
Problem: Extremely shallow DOF at macro magnifications Solutions:
- Use focus stacking techniques
- Position subject parallel to sensor plane
- Accept shallow DOF as creative element
- Use smaller apertures when appropriate
Lighting Difficulties
Problem: Getting adequate light at high magnifications Solutions:
- Use dedicated macro flash systems
- Employ reflectors and diffusers
- Consider focus stacking with longer exposures
- Increase ISO when necessary
Subject Movement
Problem: Wind and animal movement during exposure Solutions:
- Shoot during calm conditions
- Use faster shutter speeds
- Employ wind shields for plants
- Be patient with living subjects
Post-Processing for Macro Images
Essential Adjustments
Sharpness Enhancement:
- Use unsharp mask or capture sharpening carefully
- Apply local sharpening to key areas only
- Avoid over-sharpening which creates halos
Noise Reduction:
- Apply luminance noise reduction for high-ISO images
- Preserve fine detail while reducing noise
- Use masking to protect important textures
Color and Contrast:
- Enhance natural colors without oversaturation
- Adjust local contrast to emphasize textures
- Use graduated filters for balanced exposures
Focus Stacking Processing
- Import image sequence into stacking software
- Align images to compensate for slight movements
- Blend focused areas using appropriate algorithms
- Retouch artifacts created during blending process
- Fine-tune final image for optimal appearance
Safety and Ethical Considerations
Environmental Responsibility
- Never damage plants or disturb wildlife for photographs
- Follow Leave No Trace principles in natural areas
- Research local regulations before photographing protected species
- Consider the impact of your presence on delicate ecosystems
Personal Safety
- Be aware of hazardous plants and animals
- Use proper protection when photographing potentially dangerous subjects
- Inform others of your location when shooting in remote areas
- Carry first aid supplies for outdoor sessions
Building Your Macro Photography Skills
Practice Subjects
Start with easily accessible subjects to develop your techniques:
Indoor Options:
- Household objects with interesting textures
- Coins and jewelry for detail practice
- Water drops on various surfaces
- Food items with compelling patterns
Outdoor Subjects:
- Flowers and plant details
- Insects and small creatures
- Rock and mineral formations
- Ice crystals and frost patterns
Skill Development Progression
- Master basic techniques with stationary subjects
- Experiment with lighting setups and modifiers
- Practice focus stacking for complex subjects
- Attempt moving subjects as skills improve
- Develop personal style through consistent practice
Conclusion and Recommendations
Macro photography offers unlimited creative possibilities for photographers willing to slow down and explore the miniature worlds surrounding us. Success in this challenging discipline requires patience, technical knowledge, and consistent practice, but the rewards are truly spectacular images that reveal hidden beauty in everyday subjects.
Key Takeaways:
- Invest in quality equipment starting with a good macro lens
- Master fundamental techniques before attempting advanced methods
- Practice regularly with accessible subjects to build skills
- Don’t overlook the importance of proper lighting and support equipment
- Embrace both the technical challenges and creative opportunities
Getting Started Recommendations:
- Begin with a dedicated macro lens in the 90-105mm range
- Invest in a sturdy tripod with low-angle capabilities
- Start with stationary subjects before attempting moving targets
- Learn focus stacking techniques for maximum image quality
- Study the work of accomplished macro photographers for inspiration
The Sony A7 IV represents an excellent camera choice for serious macro work, offering the high resolution, excellent low-light performance, and advanced focusing aids that make challenging close-up photography more achievable.
Remember that macro photography is as much about patience and observation as it is about technical skill. Take time to truly see your subjects, experiment with different approaches, and don’t be discouraged by initial challenges. With persistence and practice, you’ll soon be creating stunning close-up images that reveal the extraordinary beauty hidden in our everyday world.
Related Tags
Looking for the Best Camera Deals?
Check out our latest buying guides and comparison articles to find the perfect camera for your needs.
Browse Buying Guides