Wildlife Photography Tips: Master Pro Techniques in 2024
Learn essential wildlife photography techniques from camera settings to animal behavior. Master composition, lighting, and field tactics for stunning shots.
Wildlife photography is one of the most rewarding yet challenging genres of photography. It combines technical expertise, patience, and a deep understanding of animal behavior to capture stunning images of creatures in their natural habitats. Whether you’re photographing birds in your backyard or big game on an African safari, mastering the fundamentals of wildlife photography will dramatically improve your success rate and image quality.
This comprehensive guide will walk you through essential techniques, equipment recommendations, and field strategies to help you capture breathtaking wildlife photographs that tell compelling stories about the natural world.
Essential Equipment for Wildlife Photography
Camera Bodies: Full-Frame vs Crop Sensors
The choice between full-frame and crop sensor cameras significantly impacts your wildlife photography approach. Full-frame cameras like the Sony A7 IV offer superior low-light performance and better dynamic range, making them ideal for dawn and dusk shooting when many animals are most active.
However, crop sensor cameras provide a natural telephoto advantage, effectively multiplying your lens focal length by 1.5x or 1.6x. This can be particularly beneficial when shooting distant subjects without the expense of extremely long telephoto lenses.
Lens Selection: Your Most Critical Investment
Wildlife photography demands long telephoto lenses to maintain safe distances from subjects while filling the frame. Here’s what to consider:
Prime vs Zoom Lenses:
- Prime lenses (300mm, 400mm, 600mm) offer maximum sharpness and wider apertures
- Zoom lenses (100-400mm, 200-600mm) provide versatility for varying subject distances
Focal Length Guidelines:
- 300-400mm: Large mammals, close bird photography
- 500-600mm: General wildlife, distant subjects
- 800mm+: Small birds, extremely shy animals
Essential Accessories
Tripods and Support Systems: A sturdy tripod is crucial for long lens stability, especially during extended observation periods. Look for carbon fiber models that balance strength with portability.
Memory Cards and Batteries: Wildlife photography often involves long shooting sessions in remote locations. Carry multiple high-speed memory cards and spare batteries to avoid missing critical moments.
Camera Settings and Technical Fundamentals
Shooting Mode Selection
Aperture Priority (A/Av Mode): This mode gives you control over depth of field while letting the camera select appropriate shutter speeds. Start with your lens’s sweet spot (typically f/5.6 to f/8) for optimal sharpness.
Manual Mode: Use manual mode in consistent lighting conditions or when you need precise exposure control for challenging lighting situations.
Critical Camera Settings
ISO Performance: Modern cameras handle high ISOs remarkably well. Don’t hesitate to push ISO to 1600, 3200, or higher to maintain fast shutter speeds. Sharp images with noise are preferable to motion-blurred shots.
Shutter Speed Guidelines:
- Small birds: 1/1000s minimum
- Large birds in flight: 1/2000s or faster
- Running mammals: 1/500s to 1/1000s
- Static subjects: 1/focal length rule (1/500s for 500mm lens)
Autofocus Configuration: Set your camera to continuous autofocus (AF-C/AI Servo) with dynamic area focusing. This combination tracks moving subjects effectively while maintaining focus accuracy.
Exposure Considerations
Wildlife photography often involves challenging lighting conditions. Master these exposure techniques:
Exposure Compensation: Bright subjects (white birds, snow scenes) may require +1/3 to +2/3 stops compensation to prevent underexposure. Dark subjects might need negative compensation.
Histogram Monitoring: Watch your histogram religiously. Clipped highlights in white feathers or fur are nearly impossible to recover in post-processing.
Field Techniques and Animal Behavior
Pre-Planning Your Shoot
Research Your Subjects: Understanding animal behavior patterns dramatically increases your success rate. Learn feeding times, migration routes, breeding seasons, and daily activity cycles.
Location Scouting: Visit locations multiple times to identify the best vantage points, lighting conditions, and animal movement patterns. Early morning reconnaissance often reveals prime shooting opportunities.
Fieldcraft and Approach Techniques
The Art of Patience: Wildlife photography rewards those who wait. Arrive early, move slowly, and be prepared to spend hours in position for the perfect shot.
Camouflage and Concealment: Wear earth-toned clothing and avoid sudden movements. Photography blinds or your vehicle can serve as effective concealment tools.
Reading Animal Body Language: Learn to recognize stress signals in your subjects. Flattened ears, raised hackles, or alert postures indicate you may be too close or causing disturbance.
Ethical Wildlife Photography Practices
Maintain Safe Distances: Use long telephoto lenses to avoid disturbing wildlife. The safety of animals always takes precedence over getting the shot.
Respect Nesting Areas: Never approach active nests or dens. Disturbance during breeding season can have serious consequences for wildlife populations.
Leave No Trace: Follow established trails, pack out all waste, and don’t alter natural environments for photography purposes.
Advanced Shooting Techniques
Flight Photography Mastery
Tracking Techniques: Start tracking subjects before they enter your frame. Use smooth, continuous movements and let the subject move through your composition rather than chasing them.
Focus Point Selection: For birds in flight, focus on the eye closest to the camera. If both eyes aren’t visible, focus on the head or beak area.
Panning for Dynamic Images: Use slower shutter speeds (1/60s to 1/250s) while panning to create motion blur in backgrounds while keeping subjects sharp.
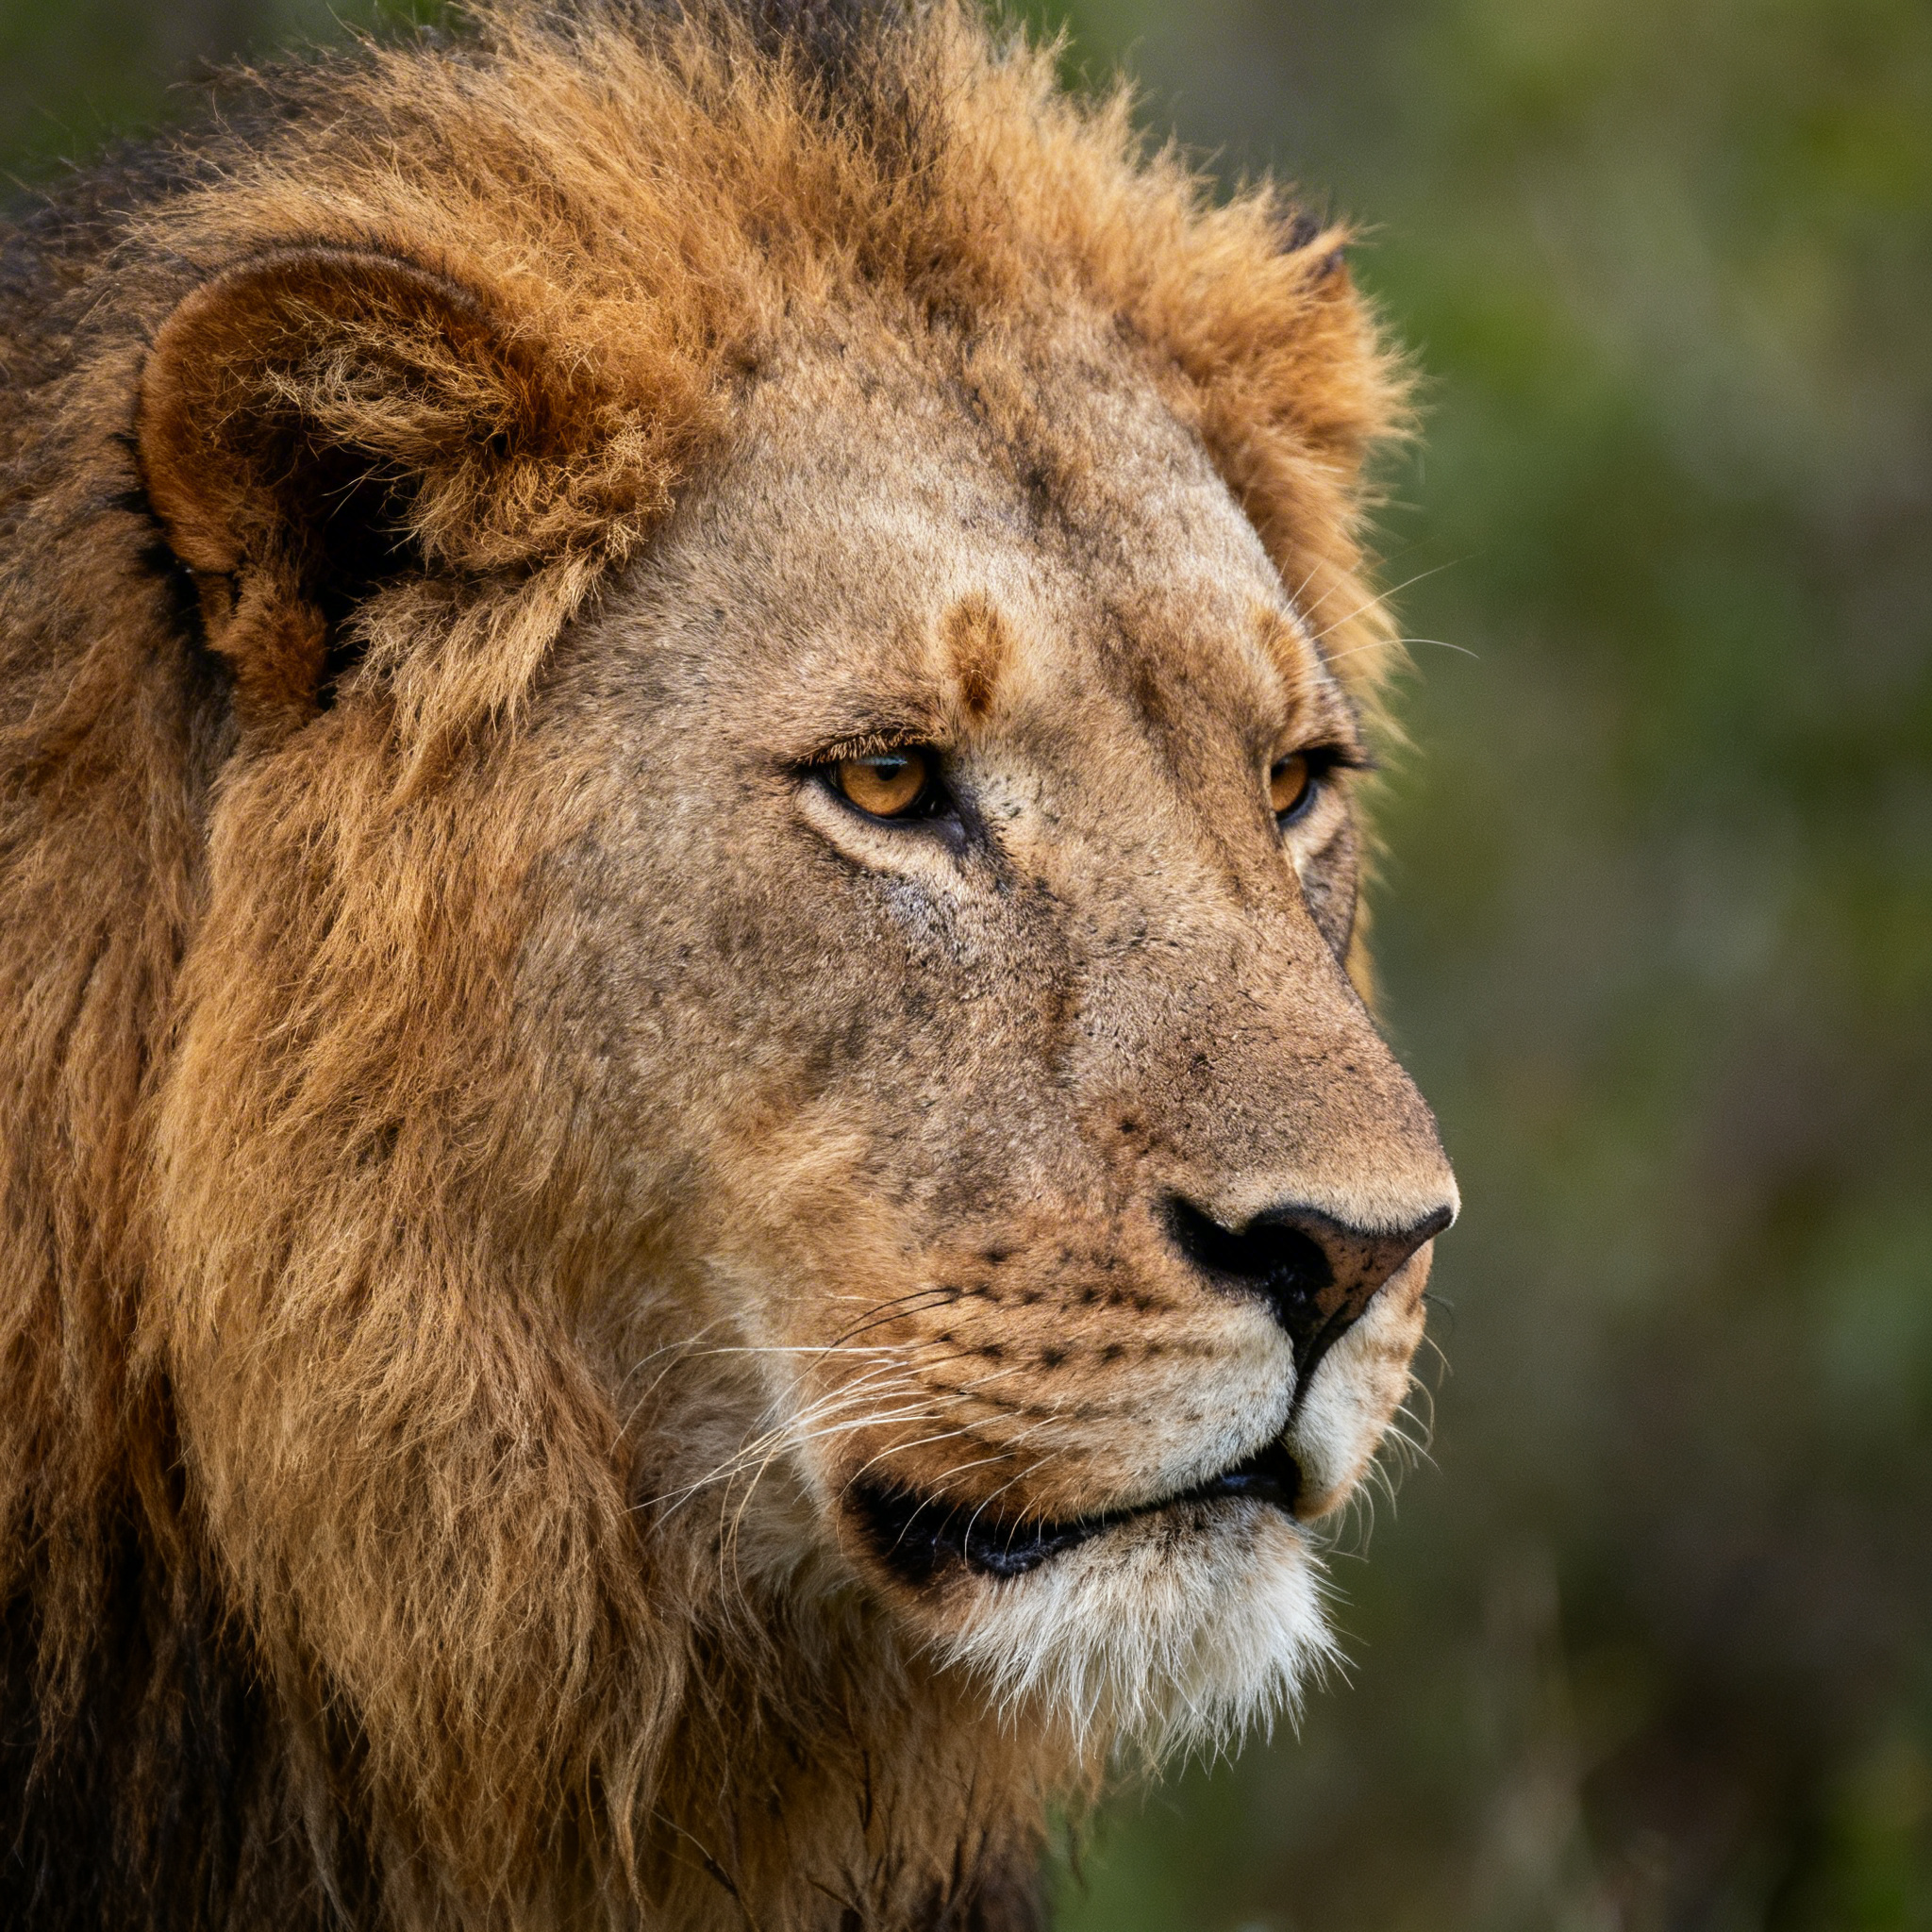
Close-Up Wildlife Photography
Eye Contact and Connection: Sharp, well-lit eyes are crucial for compelling wildlife portraits. The eye should be the sharpest point in your image and ideally show a catchlight.
Shallow Depth of Field: Use wide apertures (f/2.8 to f/4) to separate subjects from busy backgrounds. This technique works particularly well for bird photography.
Background Management: Pay attention to background elements. Position yourself to avoid distracting branches, telephone wires, or other unwanted elements behind your subject.
Lighting Strategies for Wildlife
Golden Hour Advantages
The hour after sunrise and before sunset provides warm, directional lighting that enhances fur texture and creates natural rim lighting. Plan your shoots around these optimal lighting conditions.
Overcast Day Benefits
Don’t dismiss cloudy days for wildlife photography. Overcast skies provide even, soft lighting that eliminates harsh shadows and works beautifully for forest subjects and waterfowl.
Backlighting and Rim Lighting
Position yourself to capture backlighting for dramatic silhouettes or rim lighting that outlines your subject’s fur or feathers. This technique works exceptionally well during golden hour.
Fill Flash Techniques
Use fill flash judiciously to illuminate eyes and add catchlights, especially in shadowy conditions. Keep flash power low (-1 to -2 stops) to maintain natural appearance.
Post-Processing for Wildlife Images
RAW File Advantages
Always shoot in RAW format for wildlife photography. RAW files provide maximum flexibility for exposure adjustments, noise reduction, and color correction.
Essential Adjustments
Noise Reduction: High ISO wildlife shots often require noise reduction. Modern software like Topaz DeNoise AI or DxO PureRAW can dramatically improve high-ISO image quality.
Sharpening Techniques: Apply careful sharpening to enhance feather and fur detail. Focus sharpening on the subject’s eyes and avoid over-sharpening which creates unnatural halos.
Selective Editing: Use masking tools to selectively adjust different parts of your image. Brighten eyes, enhance contrast on the subject, or blur distracting background elements.
Common Challenges and Solutions
Dealing with Low Light
Wildlife activity peaks during dawn and dusk when light levels are challenging. Combat this by:
- Using wide apertures when possible
- Pushing ISO without fear
- Stabilizing your setup with proper support
- Considering image stabilization technology
Managing Fast-Moving Subjects
Predictive Focusing: Learn to anticipate animal movement and pre-focus on areas where action is likely to occur.
High Frame Rate Shooting: Use your camera’s burst mode during peak action moments, but be strategic to avoid filling memory cards with mediocre shots.
Weather Challenges
Rain and Moisture: Protect your equipment with rain covers or plastic bags. Some of the most dramatic wildlife images are captured during adverse weather conditions.
Extreme Temperatures: Cold weather drains batteries faster and can cause condensation issues. Keep spare batteries warm in inside pockets and allow equipment to acclimate gradually when moving between temperature extremes.
Building Your Wildlife Photography Skills
Practice Opportunities
Local Wildlife: Start with accessible subjects in local parks, nature centers, or even your backyard. Urban wildlife offers excellent practice opportunities for honing technical skills.
Zoo Photography: While not true wildlife photography, zoos provide controlled environments for practicing with long lenses and animal behavior observation.
Continuous Learning
Wildlife Photography Workshops: Consider joining guided photography tours or workshops led by experienced wildlife photographers.
Online Communities: Participate in wildlife photography forums and social media groups to share images, receive feedback, and learn from other photographers.
Conclusion and Recommendations
Wildlife photography demands a unique combination of technical skill, patience, and respect for nature. Success comes from understanding your equipment thoroughly, researching your subjects extensively, and spending significant time in the field developing your skills.
For photographers serious about wildlife photography, investing in quality telephoto lenses should be your first priority, followed by a capable camera body like the Sony A7 IV that can handle challenging lighting conditions and provide the autofocus performance necessary for tracking moving subjects.
Remember that wildlife photography is as much about conservation and education as it is about creating beautiful images. Use your photographs to tell stories about the natural world and inspire others to appreciate and protect wildlife. The most rewarding aspect of wildlife photography isn’t just capturing stunning images—it’s developing a deeper connection with the natural world and contributing to wildlife conservation through your art.
Start with accessible local subjects, invest in quality equipment gradually, and most importantly, spend time in the field practicing these techniques. With patience and persistence, you’ll develop the skills necessary to capture the compelling wildlife images you envision.
Related Tags
Looking for the Best Camera Deals?
Check out our latest buying guides and comparison articles to find the perfect camera for your needs.
Browse Buying Guides